Your Trusted Choice for Quality Renovation & Remodeling Since 2017

- About
OUR JOBS
ROOFING
James St., Syracuse
SIDING
James St., Syracuse
KITCHEN RENOVATION
James St., Syracuse
BATHROOM RENOVATION
James St., Syracuse
Your Trusted Choice for Quality Renovation & Remodeling Since 2017
James St., Syracuse
James St., Syracuse
James St., Syracuse
James St., Syracuse

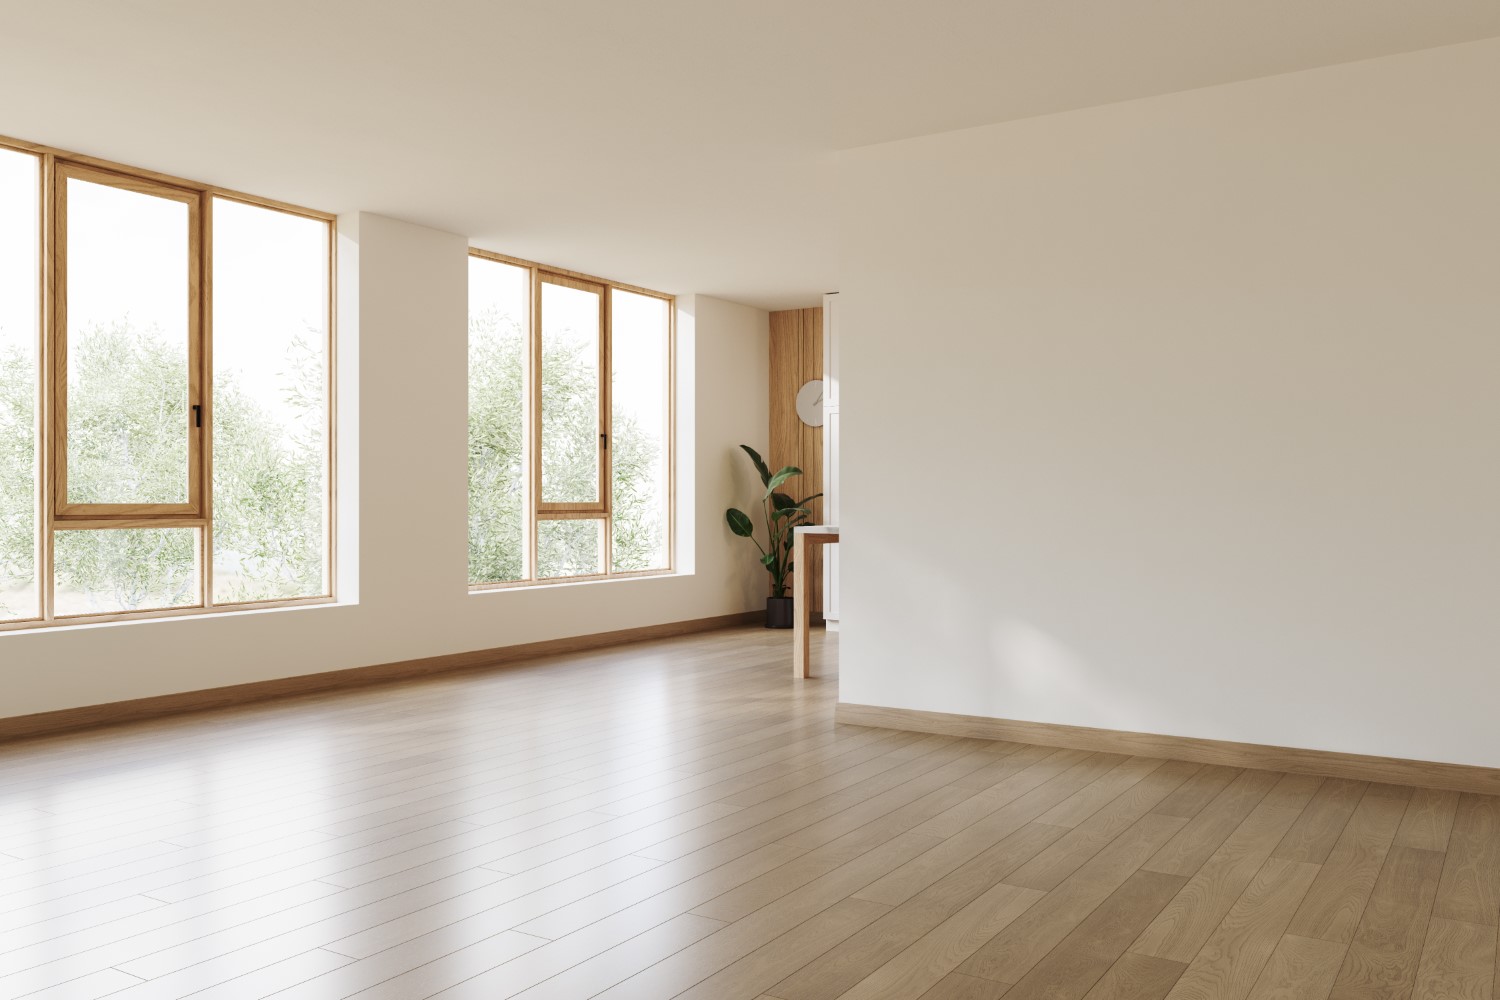
Solid hardwood is milled from a single piece of lumber and can be sanded and refinished multiple times over a service life that routinely reaches 50-100 years. In CNY’s climate, the acclimation requirement is not a formality, it is critical. Boards brought into a heated home in winter need 5-7 days in the installation space at normal temperature and humidity before installation, allowing the wood fibers to reach equilibrium with the indoor environment. Boards installed before acclimation will expand in summer humidity and contract in winter heat, producing gaps, cupping, or buckling. Common species, red oak, white oak, hickory, maple, range from $3-$10 per square foot for materials.
Engineered hardwood uses a real wood veneer bonded over a plywood core, providing better dimensional stability across CNY’s seasonal humidity swings and allowing installation over concrete with an appropriate moisture barrier. It is our recommendation for first-floor installations in homes with variable HVAC humidity control, and the only solid-wood-appearance option appropriate for below-grade installations with controlled moisture levels.
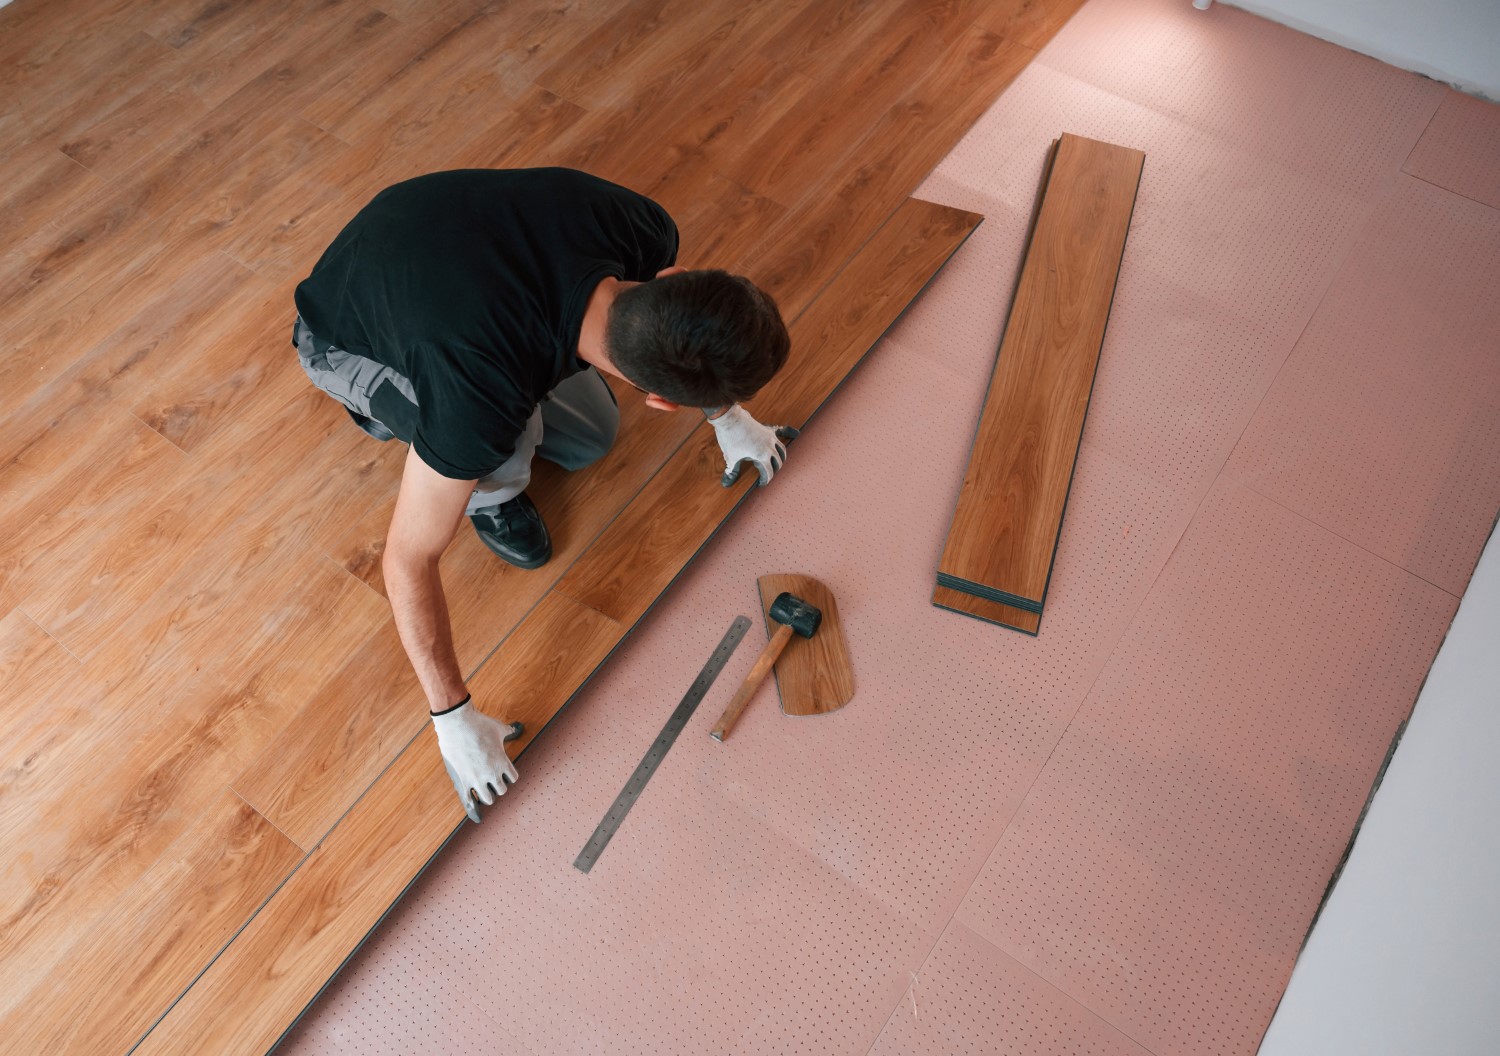
Luxury vinyl plank is a multi-layer synthetic flooring product with a photographic wood or stone layer bonded under a clear wear layer, available in thicknesses from 6 mil (light residential) to 40 mil (heavy commercial). It is 100% waterproof, dimensionally stable across humidity swings, and installs over most existing surfaces with minimal subfloor prep. For CNY homes, LVP’s combination of complete water resistance, scratch resistance, and comfort underfoot makes it the most versatile residential flooring material available, equally at home in a first-floor family room, a kitchen, a basement, or an entry that takes daily salt and slush traffic.
We installed LVP throughout the entire first floor of a home on Oswego Street in Liverpool, NY, the Kowalski family had a large household with children and two dogs, and the existing mix of old carpet and dated laminate was past its useful life. The goal was a continuous, seamless floor from the entry through the kitchen, dining room, and family room, a single material that could handle heavy daily traffic and the wet, salt-tracked entry conditions that come with a CNY winter without requiring annual maintenance. We selected a 20-mil commercial-grade LVP in a wide-plank white oak pattern, ran it continuously across all four rooms with clean transitions at the stair landing and bathroom thresholds, and leveled two low spots in the subfloor before any material went down. The family was back to full use of the first floor in two days.
Porcelain tile is the densest and most durable tile type, it absorbs less than 0.5% moisture by weight and is rated for floor use by PEI class. Ceramic tile is less dense and more porous, appropriate for wall applications and low-traffic floors. Natural stone, marble, travertine, slate, requires sealing to prevent staining and is more susceptible to cracking on moving subfloors than manufactured tile.
In CNY, subfloor movement is a real factor: seasonal temperature and humidity swings cause wood subfloors to expand and contract, and concrete slabs develop minor movement at control joints over time. Installing tile directly over these surfaces without a decoupling membrane transmits that movement directly into the tile, producing cracked grout joints and eventually cracked tile faces. We install Schluter DITRA decoupling membrane under all tile on wood subfloors and over concrete slabs with active movement, it uncouples the tile layer from the substrate, allowing each surface to move independently and protecting the tile assembly from stress cracking.
Laminate uses a high-density fiberboard core with a photographic layer and wear-resistant overlay, it costs $1-$4 per square foot for materials and mimics hardwood or tile convincingly. Its primary limitation is moisture sensitivity: the HDF core swells when exposed to water, causing joints to buckle and the product to delaminate. Laminate is appropriate for bedrooms, living rooms, and dry areas with stable humidity. In CNY’s climate, it is not appropriate for kitchens, bathrooms, laundry rooms, basements, or any entry area subject to wet foot traffic, the combination of tracked-in moisture and seasonal humidity swings accelerates joint failure faster than in milder climates.
LVP can be installed over existing hardwood, tile, or vinyl as long as the surface is flat, firmly bonded, and within flatness tolerances. Ceramic tile over existing tile is viable when the combined thickness is structurally acceptable and the subfloor is sufficiently rigid. Overlay installation eliminates demolition cost, typically $1-$2 per square foot in labor savings, but adds product thickness that must be managed at door clearances, transitions, and appliance openings.
Full removal is required when existing floors are damaged, saturated, delaminating, or structurally compromised. Multiple layers of flooring stacked over time create height problems at transitions and indicate that previous overlay decisions were poorly considered. Hardwood refinishing requires removing any overlay material above it. Subfloor repairs, squeaks, soft spots, or moisture damage, cannot be addressed without removing the existing floor material first. We identify whether full removal is necessary during the assessment visit and include it in the project scope before any installation pricing is delivered.
Transitions between different flooring materials require a strip that covers the height difference and protects the floor edges. T-moldings bridge two floors at the same height. Reducers transition from a higher floor to a lower one. End caps terminate flooring at a vertical surface such as a sliding door track. Height differences greater than 3/8 inch between adjacent rooms require a reducer and may indicate a subfloor height discrepancy that should be corrected rather than bridged by hardware.
Flooring installation follows a defined sequence, subfloor preparation always precedes material installation, and trim and transitions are always the final step. Rushing or skipping the preparation phase is the single most common cause of post-installation problems, and it is the phase where the difference between a careful installer and a fast one is most visible within the first few years.
Our interior finishing lead, Lucas Benett Kearns, personally inspects every subfloor before installation begins, checking flatness with a straightedge, identifying squeaks and soft spots, confirming structural adequacy, and specifying the leveling compound or underlayment required for each material. Any subfloor deficiencies are corrected before material installation begins. Door clearances are measured to confirm the new floor thickness does not prevent doors from closing. All sanding, grinding, and subfloor preparation work is performed with dust containment in place, plastic sheeting at room openings and a negative-pressure HEPA vacuum at the source, to protect the rest of the home throughout the prep phase.
Wood subfloors are tested for moisture content using a pin or pinless moisture meter, readings above 12% require drying time or moisture remediation before any wood-based flooring is installed. Concrete subfloors are tested using an in-situ relative humidity probe per ASTM F2170 to confirm moisture vapor emission is within the flooring manufacturer’s allowable limit. In CNY’s climate, where basements and slabs see seasonal moisture variation, this step is not optional, installing wood or laminate over a wet slab produces failure within months regardless of material quality.
Solid and engineered hardwood must acclimate to the installation environment, typically 5-7 days in the home at normal temperature and humidity, before installation. In CNY, this means the home must be at its normal heated or conditioned state during acclimation, not left unheated in winter or at construction-humidity levels. Tile installation requires layout planning: the installer dry-lays the field to confirm pattern alignment, grout joint spacing, and the placement of cut pieces at borders before any thinset or adhesive is applied.
Hardwood is nailed or stapled to the subfloor using a flooring nailer at a 45-degree angle through the tongue of each board, with expansion gaps maintained at all walls and fixed objects. LVP uses a click-lock floating system, planks interlock without adhesive and float over the subfloor with an expansion gap at all perimeter walls. Tile is set in thinset mortar using a notched trowel, back-buttered for large-format tiles, and aligned with tile spacers over the Schluter DITRA membrane where required. Each material type requires specific fastening and adhesion methods; deviation from manufacturer requirements voids warranties and creates failure points.
Baseboard and shoe molding are reinstalled or replaced to cover the expansion gap at walls after floating floor installation. Transition strips are cut to length and installed at all room boundaries, doorways, and material changes. Tile grout is applied, allowed to cure fully, and sealed where required. The entire installation is swept, vacuumed, and inspected for damaged boards, hollow tile, lippage, or grout voids before project completion. Your written estimate is in your hands within 24 hours of the initial assessment visit.
Ready to plan your flooring project? Schedule your flooring consultation, we respond within 24 hours.
Flooring installation costs depend on material type, square footage, subfloor condition, pattern complexity, and regional labor rates. Material and labor are typically quoted together per square foot. The figures below are planning benchmarks for the CNY market, your written estimate reflects your specific rooms, subfloor conditions, and selected materials.
Labor typically represents 40-60% of total flooring installation cost for hardwood and tile, and 30-40% for LVP and laminate. A 500 sq. ft. LVP installation typically runs $1,500-$3,500 total; the same area in engineered hardwood runs $3,000-$6,000. Tile labor cost per square foot is the highest of any common flooring material due to subfloor prep, mortar application, decoupling membrane installation, grouting, and cleanup requirements.
Subfloor leveling adds $1-$3 per square foot when self-leveling compound is required over large areas. Diagonal, herringbone, or other pattern installations add 15-25% to labor cost due to cut waste and layout complexity. Stair installation, replacing carpet or existing tread material, runs $50-$150 per step for hardwood or LVP, including bullnose treads and riser finishing. Old floor removal adds $1-$2 per square foot when full demolition is required. All cost variables are itemized in your written estimate, nothing is bundled.
Our experts are here to help. Contact us directly for a consultation or any specific questions about your project.
Our experts are here to help. Contact us directly for a consultation or any specific questions about your project.