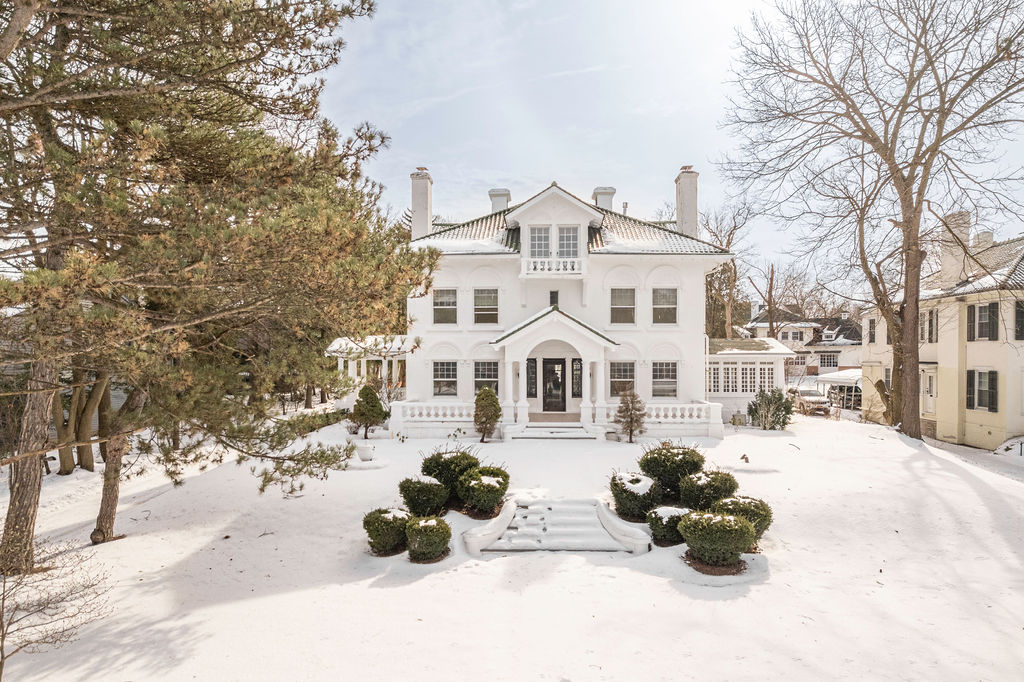
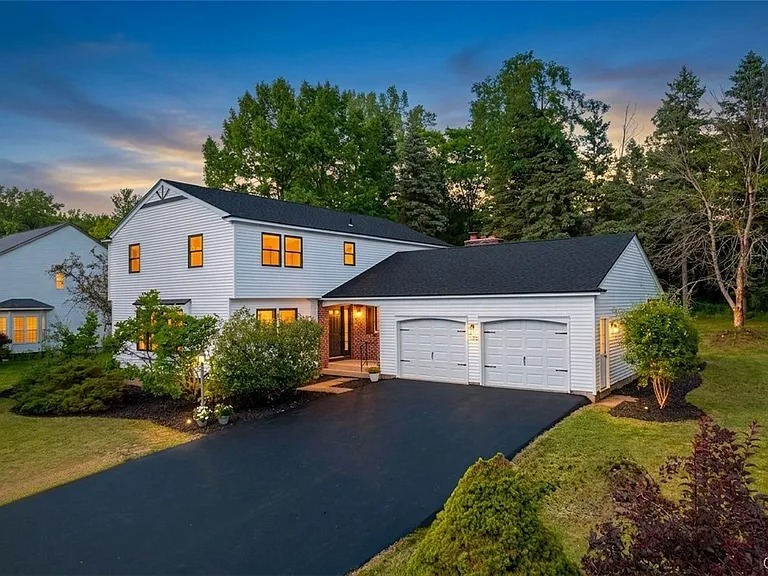
Your Trusted Choice for Quality Renovation & Remodeling Since 2017

- About
OUR JOBS
ROOFING
James St., Syracuse
SIDING
James St., Syracuse
KITCHEN RENOVATION
James St., Syracuse
BATHROOM RENOVATION
James St., Syracuse
Your Trusted Choice for Quality Renovation & Remodeling Since 2017
James St., Syracuse
James St., Syracuse
James St., Syracuse
James St., Syracuse
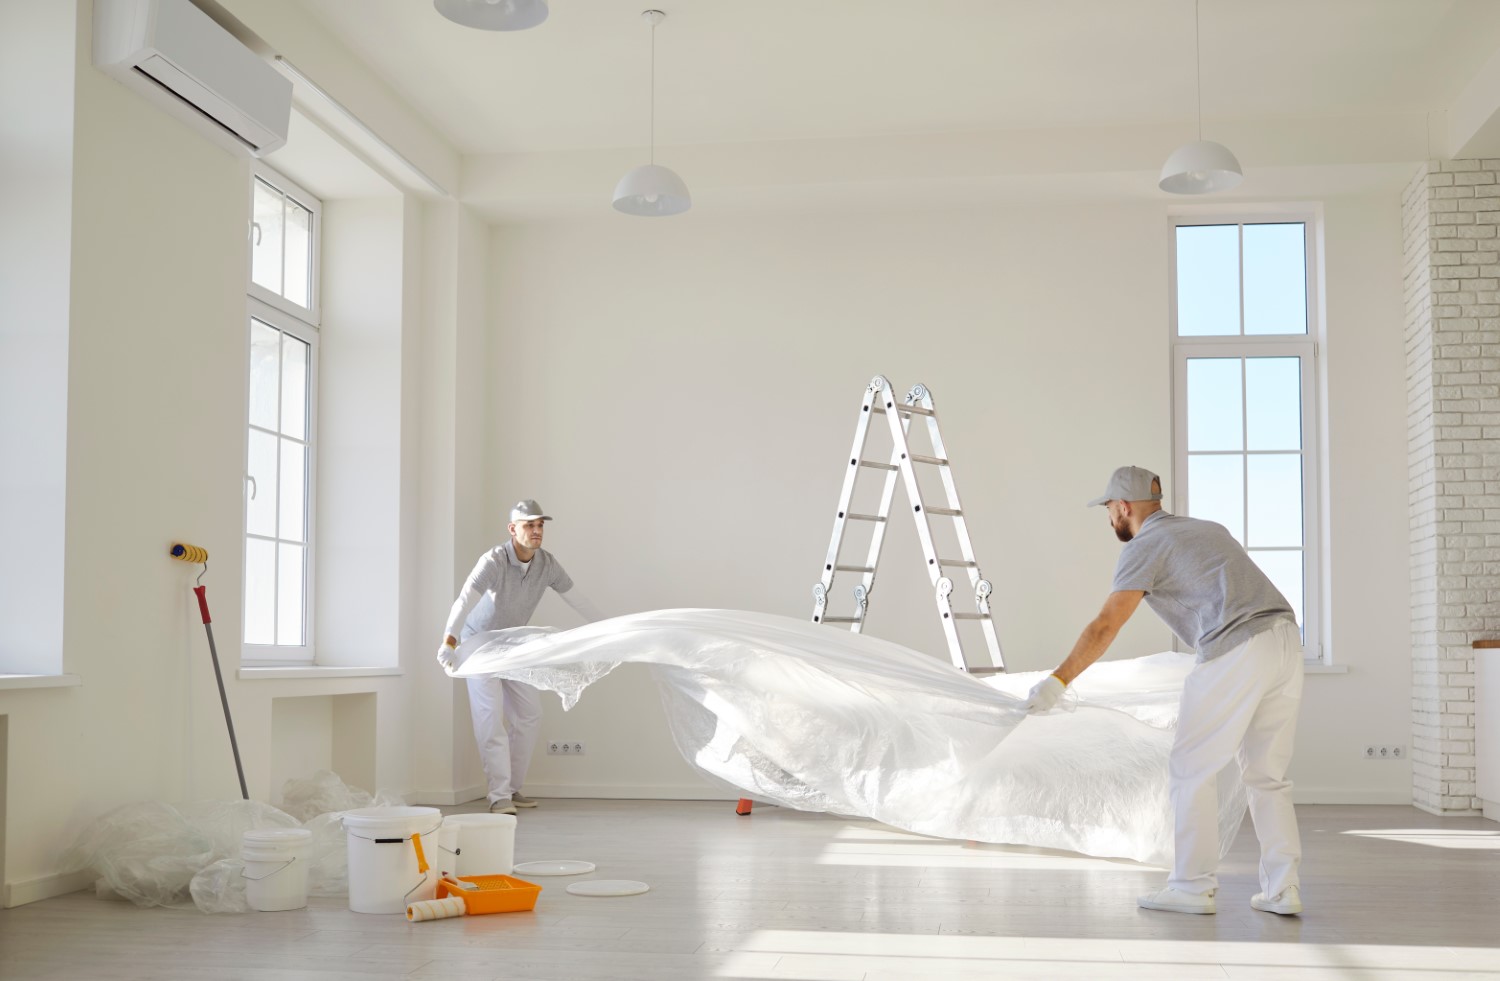
Interior painting scope typically covers walls, ceilings, and trim, though each surface uses different paint sheens, application methods, and preparation requirements. A complete interior painting project addresses all three surface types for a unified result.
Wall finish selection follows a consistent rule: the higher the sheen, the more washable the surface and the more surface imperfections it reveals. Flat paint hides imperfections best but marks easily, appropriate for low-traffic bedroom walls and ceilings. Eggshell provides a slight sheen and wipes clean with mild detergent, the standard choice for most living areas. Satin is used in kitchens, hallways, and children’s rooms where cleanability is a priority. Semi-gloss is reserved for trim, doors, and cabinetry.
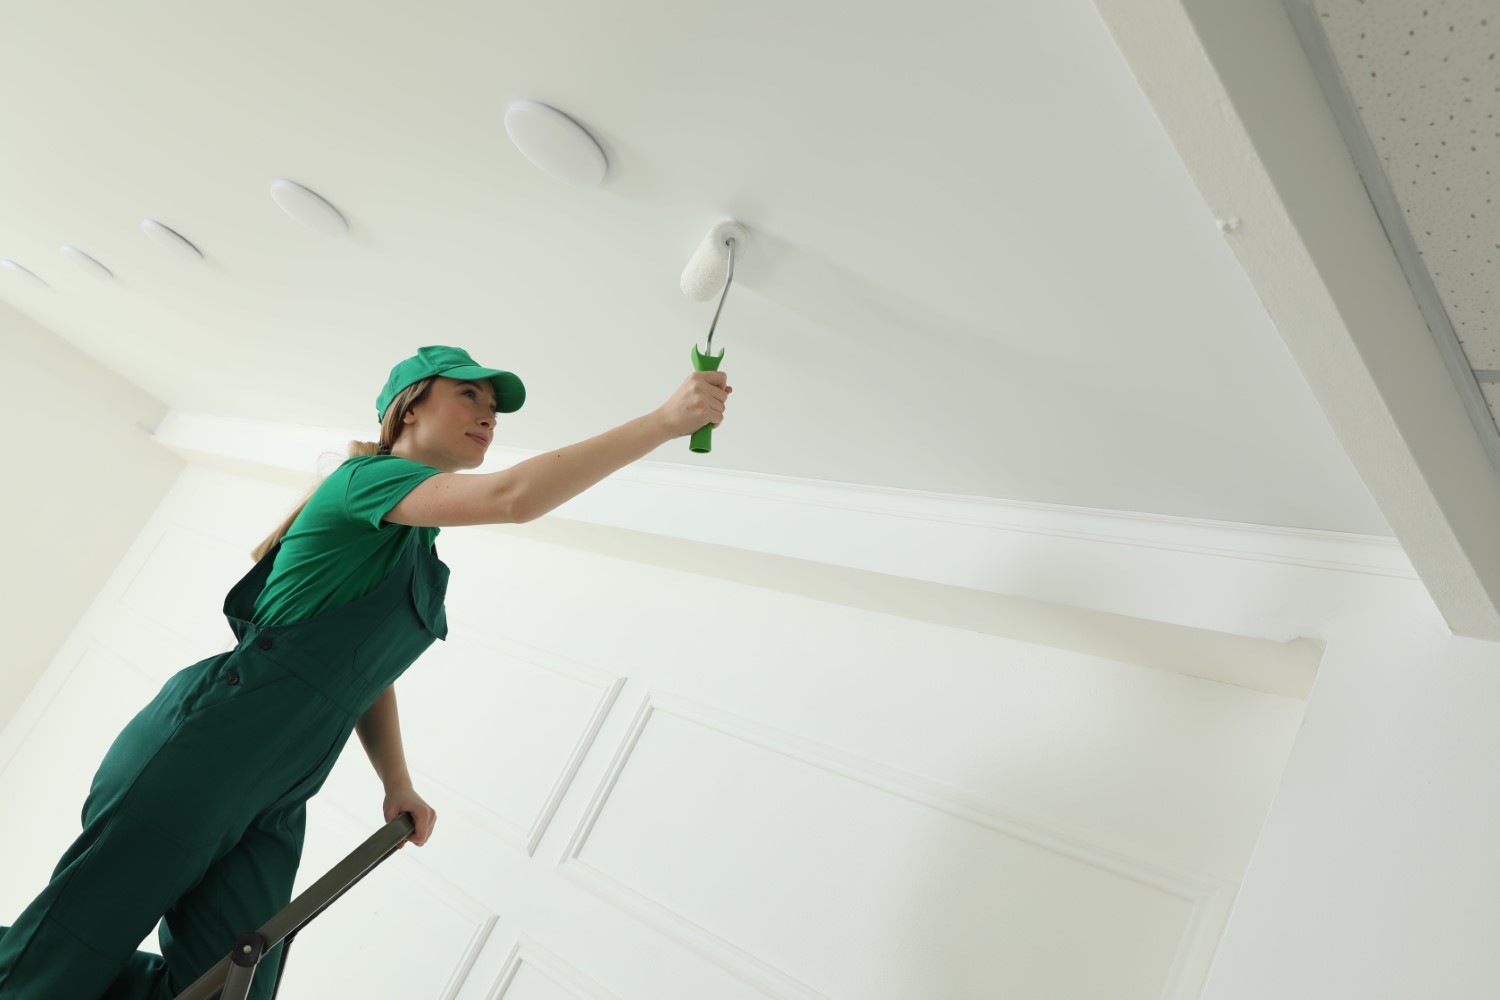
Ceilings are painted in flat white in most residential applications, flat paint hides texture and roller marks better than any other sheen at the angles from which ceilings are viewed. A ceiling that has not been repainted when walls are refreshed often looks dingy by contrast, repainting both walls and ceiling in the same project produces the cleanest visual result. Textured ceilings, orange peel, knockdown, or popcorn, require a thick-nap roller to coat effectively. Popcorn ceilings are typically wet-scraped and replaced with smooth drywall before painting when texture removal is desired.
Trim painting uses semi-gloss or gloss paint for durability, trim takes more contact and abrasion than walls and requires a tougher finish. Doors are painted with a brush-and-back-roll method or a small foam roller on flat-panel doors to achieve a smooth, near-factory finish. Crown molding and baseboard painting requires precise cutting in at wall and ceiling junctions, the most labor-intensive portion of trim painting in rooms with significant linear footage of detailed molding.
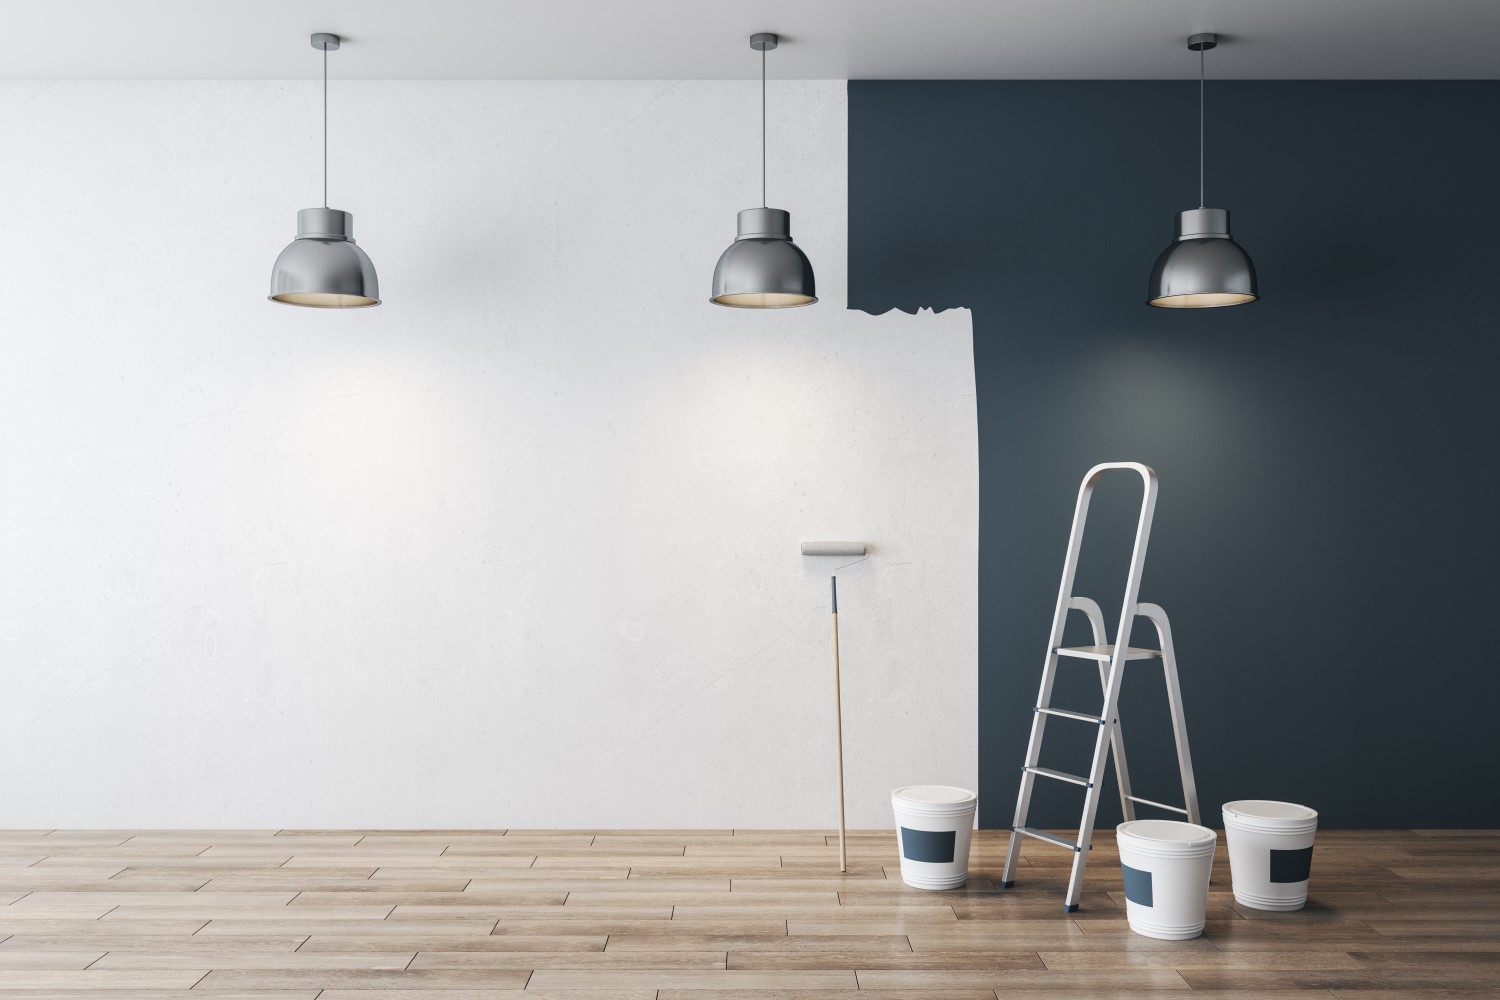
An accent wall uses a contrasting or deeper color on one wall to create visual emphasis, typically the wall behind a bed, sofa, or fireplace. Specialty finishes, limewash, venetian plaster effects, or color-wash techniques, require additional product cost and application skill compared to standard latex paint. These finishes are discussed before project pricing is finalized, as material and labor cost differs substantially from standard rolled application.
Central New York homes are sealed tight from November through March, windows closed, fresh air exchange minimal, HVAC recirculating interior air continuously. Painting with high-VOC (volatile organic compound) products during this period fills that sealed environment with off-gassing solvents and carriers that accumulate indoors rather than dissipating through open windows. We exclusively use Zero-VOC and Low-VOC paint systems for all interior work, products from Benjamin Moore’s Aura line and Sherwin-Williams Emerald are our primary specifications. These products deliver premium coverage and durability with a fraction of the chemical off-gassing of conventional formulations, protecting your family’s indoor air quality regardless of the season we’re painting.
Paint quality tiers reflect pigment load, binder quality, and coverage per gallon. Premium paints, Benjamin Moore Aura, Sherwin-Williams Emerald, and comparable products, cover in fewer coats, produce more consistent sheen, resist scrubbing and fading better than builder-grade products, and hold color longer through CNY’s UV exposure. Premium paint typically costs $60-$90 per gallon versus $25-$40 for mid-grade products. The labor cost to apply paint is identical regardless of quality, spending more on paint reduces total coats needed and extends the repaint cycle by years.
Paint color looks different on a wall than it does on a chip or screen, room lighting, adjacent colors, and the wall’s existing texture all shift the final appearance significantly. Always test samples: most major brands sell quart samples for $5-$10. Apply a 12×12 inch patch and view it at different times of day under both natural and artificial light before committing to a full room. A color that reads warm and neutral in the store may read pink or yellow under your home’s specific lighting. We discuss color direction during the estimate visit and can recommend palettes that work with your home’s light conditions and existing finishes.
Interior painting follows a strict sequence, preparation is the majority of the work and the primary determinant of result quality. A paint job is only as good as the surface it goes over. Rushing preparation produces a result that fails sooner and looks worse immediately.
Our interior finishing lead, Lucas Benett Kearns, reviews every surface before paint is ordered, identifying nail pops, cracks, holes, peeling sections, and bonding failures. Minor patching is completed with lightweight spackle or joint compound, sanded smooth with HEPA-filtered sanding equipment after drying. All plastic sheeting and containment is in place before any sanding begins, drywall and spackle dust is among the finest particulate generated in interior construction work, and controlling it at the source protects your home’s HVAC system and the rooms adjacent to the work area. Glossy surfaces are sanded or liquid-deglossed to improve adhesion. All trim-to-wall caulk joints are inspected and re-caulked with paintable elastomeric caulk where gaps, cracks, or separation are present, this step is not optional in CNY homes, where forced-air heating and the resulting seasonal movement make opened caulk lines the norm rather than the exception.
Floors, hardware, outlets, switches, and all surfaces not being painted are masked or covered before any paint is applied. Heavy canvas drop cloths are placed under all work areas, not lightweight plastic sheeting that moves under foot traffic. Masking tape is applied at all trim-to-wall boundaries where freehand cutting in is not being used. Light fixtures are either covered or temporarily removed, fixture removal produces cleaner results at ceiling-to-wall junctions and around fixture bases. Your floors, furniture, and personal property are treated with the same care we would give our own.
Primer is applied on new drywall, over repaired patches, over stains, and when making a dramatic color change, covering a deep red, dark navy, or saturated color with a light neutral. Full-wall priming is required on new drywall because the face paper is porous and absorbs the first finish coat unevenly, producing visible flashing. Spot-priming, priming only the repaired areas, is sufficient for repaint projects with minor surface repairs and similar color-to-color changes. Stain-blocking primer is applied to water marks, smoke damage, grease, or marker before finish coats, skipping this step allows stains to bleed through any number of finish coats above them.
Cutting in, applying paint with a brush at ceiling lines, corners, and trim boundaries, is done before rolling the field of each wall, and both are completed in the same session so wet edges blend invisibly. Painting cut-in edges one day and rolling the field the next produces visible lap marks at the junction. Ceilings are rolled first, then walls, then trim, this sequence minimizes overspray and drip cleanup on surfaces painted below. All Zero-VOC and Low-VOC products are mixed and applied per manufacturer specifications for the temperature and humidity conditions in the room, CNY’s dry heated winters and humid summers affect drying time and film formation, and we adjust application accordingly.
Most quality paints require two coats for full, even color coverage, one-coat coverage claims assume ideal conditions rarely present in field applications. The second coat is applied after the first is fully dry, typically 2-4 hours for latex paint under normal conditions, longer in high-humidity summer conditions. After the second coat dries, masking tape is removed, hardware and outlet covers are reinstalled, and the entire project is inspected for holidays, drips, caulk gaps, or missed areas before closeout. Your estimate is in your hands within 24 hours of our initial visit.
Ready to refresh your home? Schedule your interior painting consultation, we respond within 24 hours.
Interior painting costs depend on the number of rooms, ceiling height, surface condition, number of colors, and trim complexity. The figures below are planning benchmarks for the CNY market, your written estimate reflects your home’s actual surface conditions and scope.
Extensive surface prep, multiple patches, full-wall priming, stain blocking on large areas, or complete re-caulking of trim joints throughout the home, adds $200-$600 to project cost. Ceilings above 9 feet require extension equipment that adds time, expect a 15-25% premium for rooms with 10-12 foot ceilings. Rooms with significant crown molding, coffered ceilings, or wainscoting require more cutting-in labor and add 20-40% to trim painting cost compared to rooms with standard baseboards only. All variables are itemized in your written estimate, nothing is bundled.
Our experts are here to help. Contact us directly for a consultation or any specific questions about your project.
Our experts are here to help. Contact us directly for a consultation or any specific questions about your project.