Your Trusted Choice for Quality Renovation & Remodeling Since 2017

- About
OUR JOBS
ROOFING
James St., Syracuse
SIDING
James St., Syracuse
KITCHEN RENOVATION
James St., Syracuse
BATHROOM RENOVATION
James St., Syracuse
Your Trusted Choice for Quality Renovation & Remodeling Since 2017
James St., Syracuse
James St., Syracuse
James St., Syracuse
James St., Syracuse

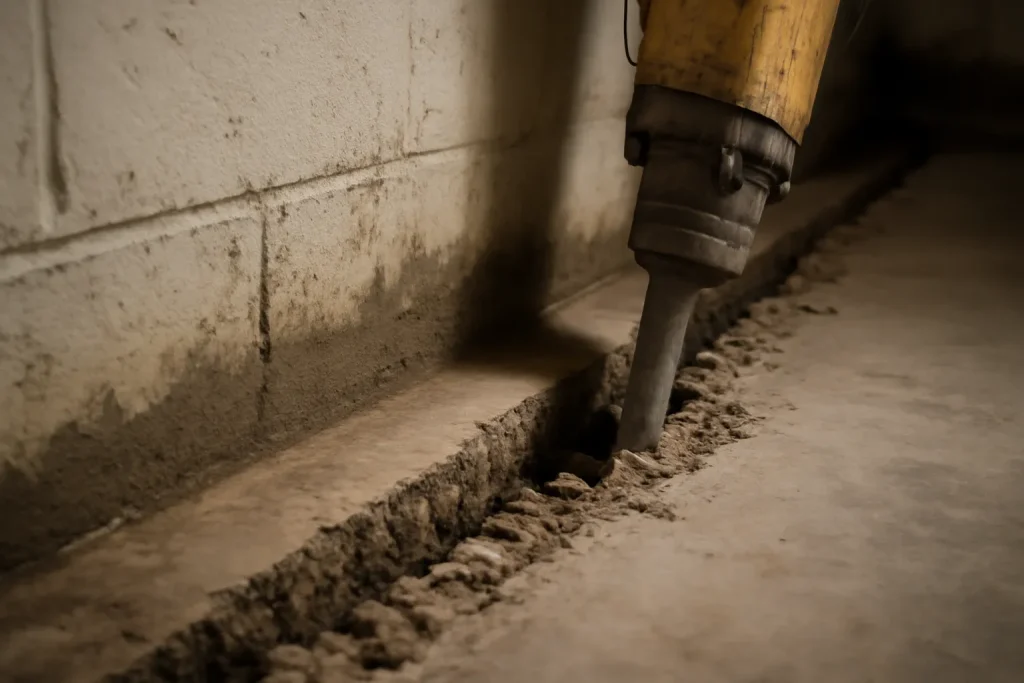
For groundwater pressure, the fix is interior basement drainage with a primary sump and battery backup. For grading and downspouts, the fix is exterior site work to redirect water away from the foundation. For internal leaks, the fix is plumbing repair. For condensation, the fix is the right insulation strategy (typically closed-cell foam against the wall). Skipping the right fix and going straight to framing is the most common Cicero basement mistake.
Every wet basement we have ever finished successfully had the same project structure: diagnose, fix the source, wait one or two seasonal cycles to verify the fix held, then finish. The basements that fail are the ones where the homeowner wanted to skip step three. The drying-out and verification weeks are not optional; they are the proof that the rest of the investment will hold up.
– Elijah Mercer Boone, Lead Project Manager
After source repair, let the basement go through at least one heavy rain cycle and ideally one freeze-thaw cycle before starting framing. Moisture sensors and visual inspection confirm the fix held. This phase costs nothing but time, and it is the cheapest insurance against rebuilding the same basement twice.
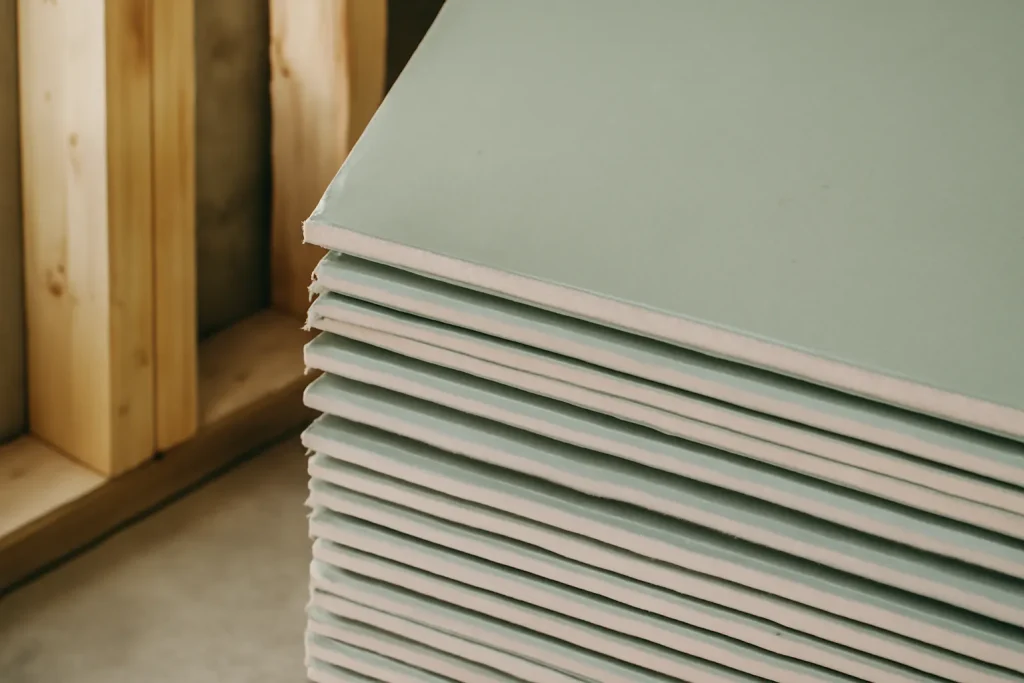
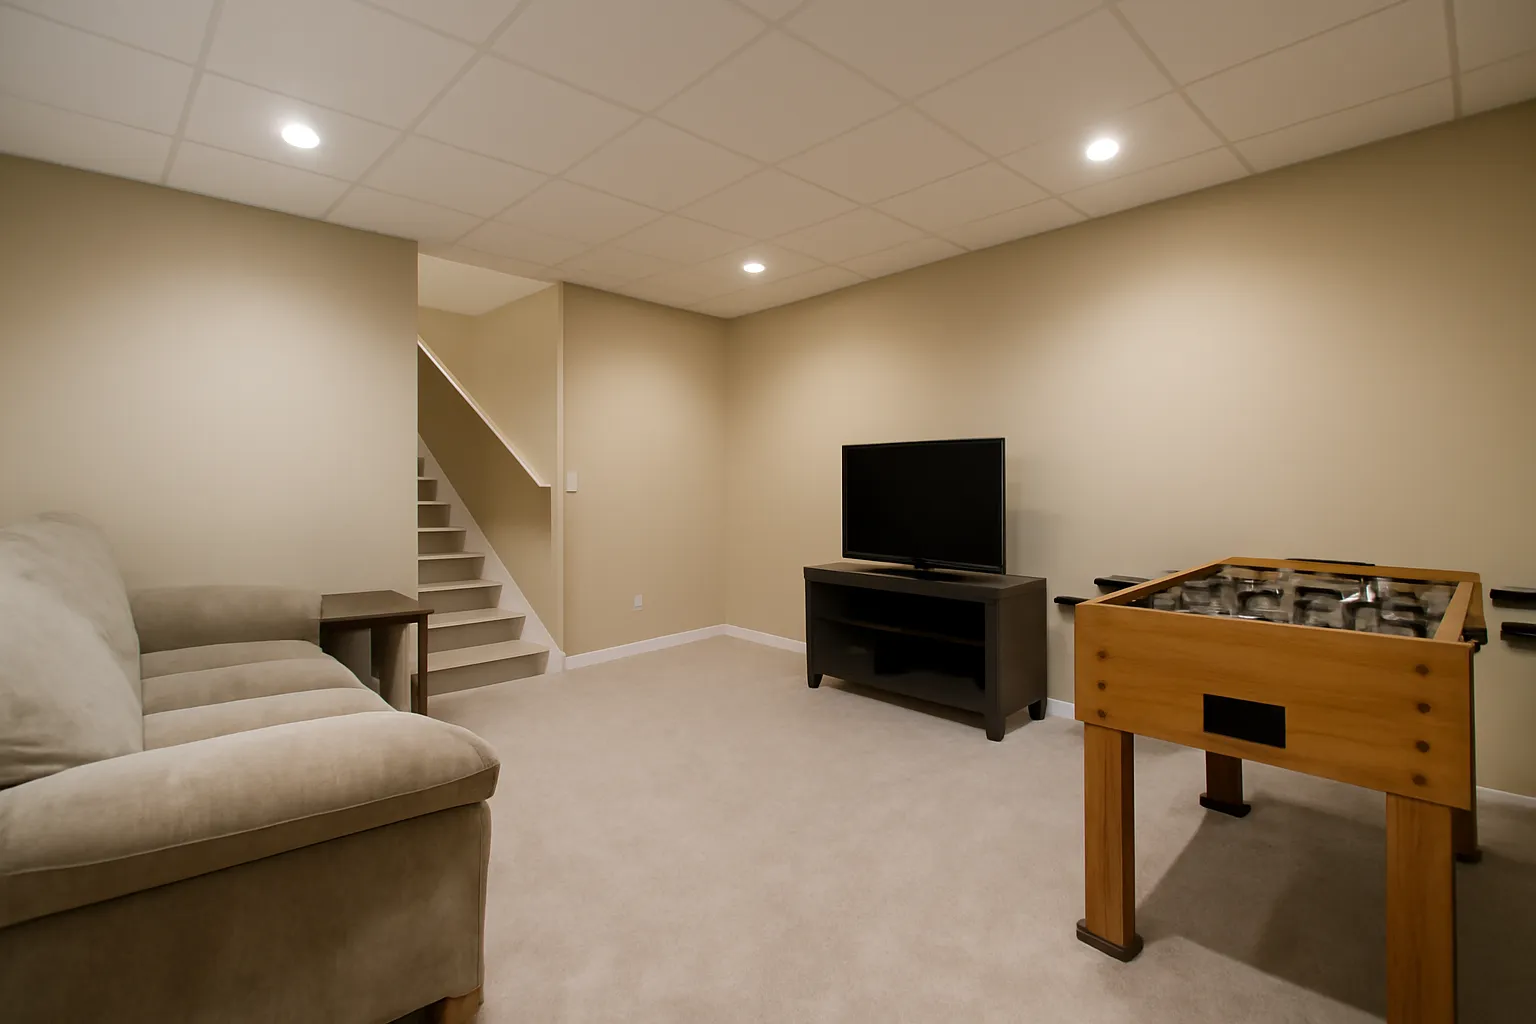
Once the basement is dry and stable, the finish build uses mold-resistant materials: closed-cell foam at the foundation, mold-resistant drywall (purple board) on all walls, sealed-edge LVP flooring rather than carpet, and HRV ventilation tied into the main HVAC. If the source was severe enough to have caused active mold growth, a full basement mold remediation pass happens between phase 2 and phase 4.
If the basement has structural foundation cracks wider than 1/8 inch, active hydrostatic seepage that cannot be controlled with interior drainage, or persistent radon levels above 4 pCi/L, the finishing project should be paused until those issues are professionally addressed. Finishing over them traps problems that will surface later.
SAP Construction has been triaging wet basements in Cicero and the northern submarkets since 2017. Schedule a consultation and your project manager will walk the basement, map the moisture, and deliver a transparent estimate within 24 hours.
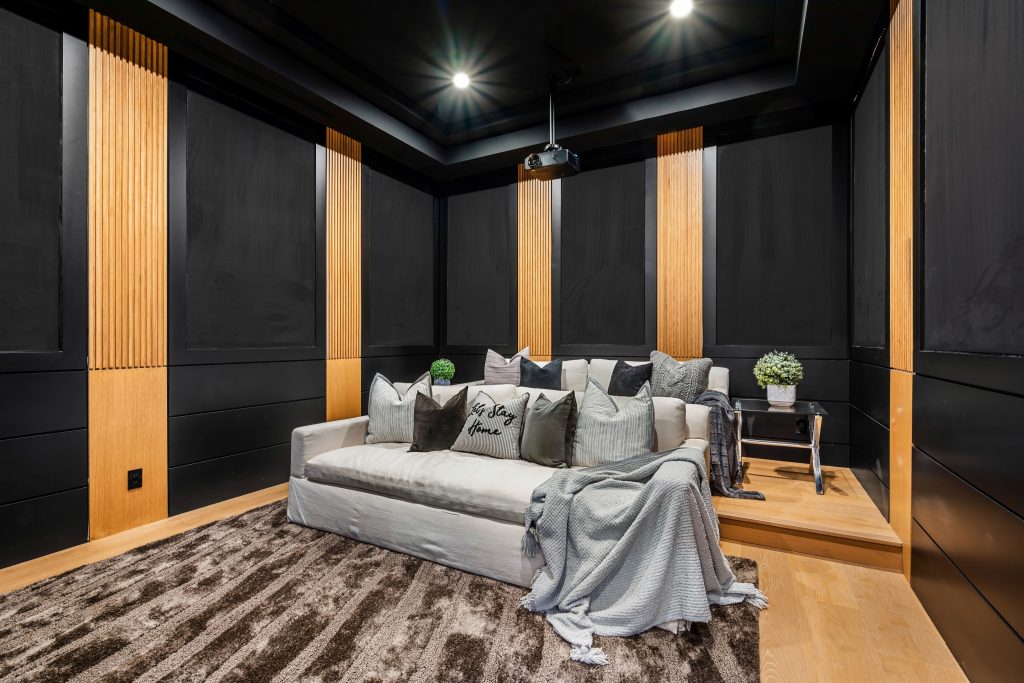
A dedicated theater is the upgrade Geddes homeowners enjoy every single weekend, and it is also the basement project where the fun details and the code details fight each other. You want a sealed, dark, sound-isolated box; the code wants egress, proper wiring, and a ceiling height that does not feel like a crawlspace. A basement home theater code compliant build gets both right, so the room sounds incredible and still passes inspection without a last-minute redesign.
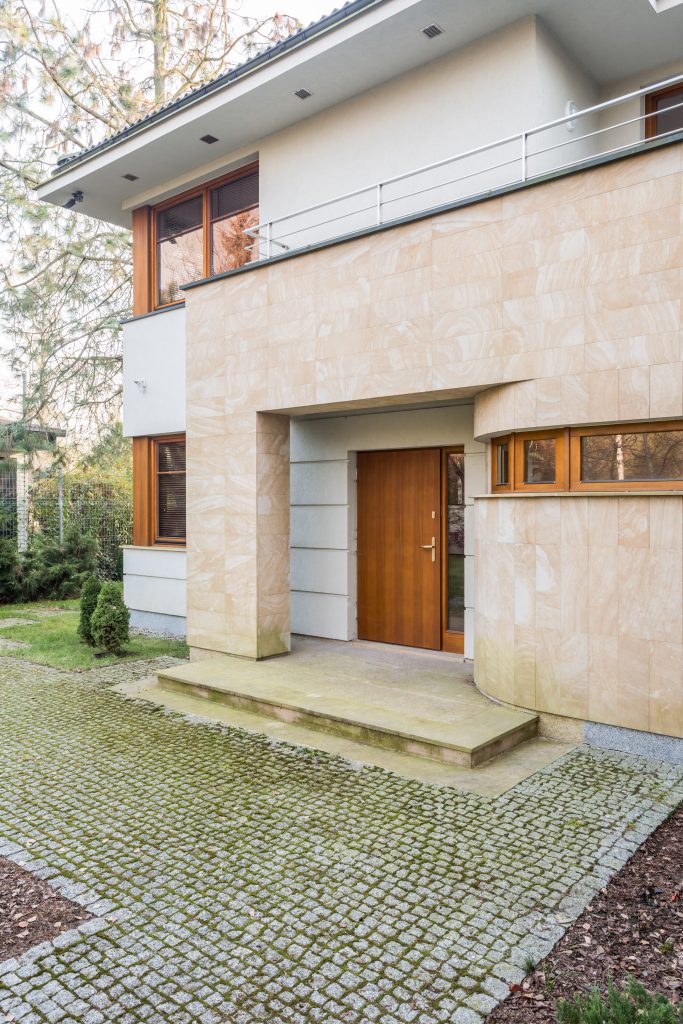
On the Lyndon Road side of DeWitt the lots are deep enough that an attached in-law suite pencils out as a rental, but the permit is where most investor projects stall. An attached suite is not a spare bedroom with a hot plate. Onondaga County reads it as a second dwelling unit the moment it has its own kitchen and bathroom, and that classification triggers a different review track. Knowing which track you are on before you draw the addition saves you a rejected application and a lost building season.
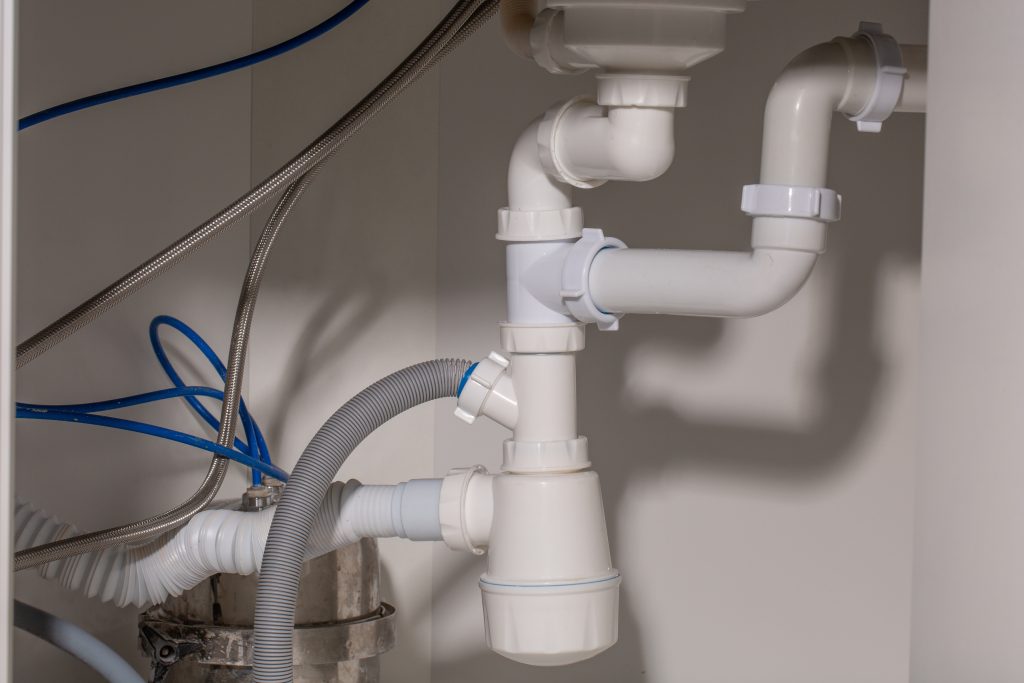
Baldwinsville's larger lot sizes and existing finished basements make the area attractive for basement ADU conversions that need a real working kitchenette. The bathroom you can plan around. The kitchenette is the part that surprises investors. The basement kitchenette adu plumbing scope determines whether the project pencils as a rental and whether the kitchen actually functions for the tenant. Get the plumbing wrong and the kitchenette is decorative; get it right and the ADU rents.
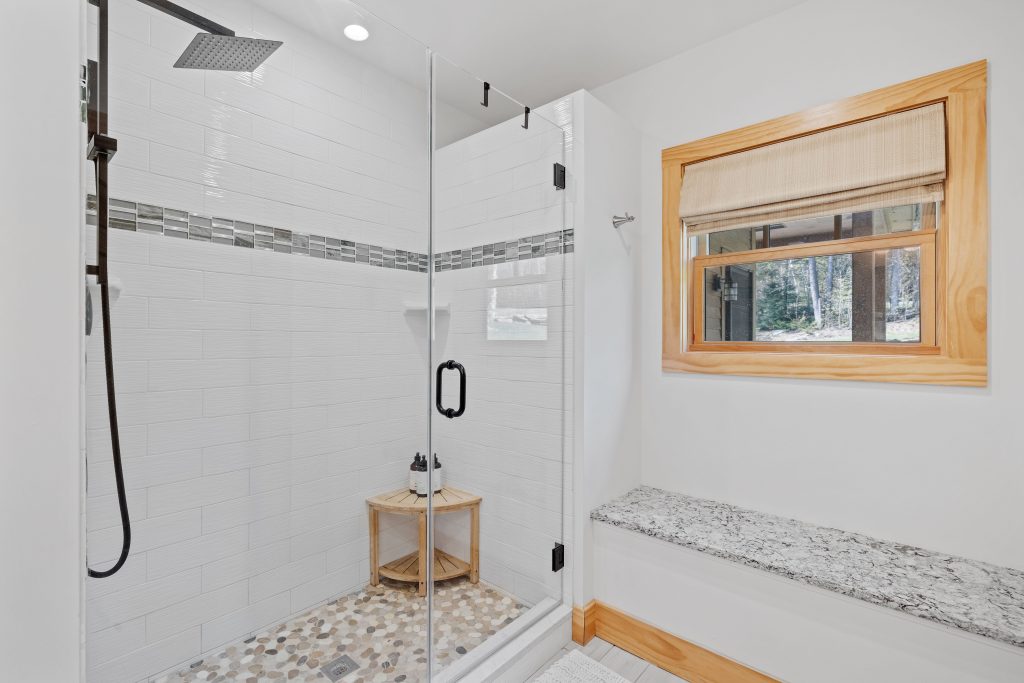
In the older James Street homes around Syracuse, an aging-in-place homeowner often wants to keep living on their own terms, and a walk-in shower with a solid bench is one of the highest-value moves toward that. A bench looks simple. Done wrong it ponds water, leaks behind the tile, or flexes under weight. The walk in shower bench code and the waterproofing details are what separate a bench that lasts twenty years from one that fails in two.
Our experts are here to help. Contact us directly for a consultation or any specific questions about your project.
Our experts are here to help. Contact us directly for a consultation or any specific questions about your project.